
Managing assets
Create and edit your own materials, assign textures, and get the most out of the Assets Browser.
Introduction
This chapter is linked to the previous one (Composing scene) but goes deeper into the management of assets. How to create your own materials, how to assign textures to materials, etc.
Creating your own materials
When importing a 3D model, most of the time it comes with its own materials and textures already configured. But sometimes you may want to have a deeper control over the materials and see how its related assets (typically textures) appear using the Babylon.js engine.
Let's start with an empty box that we created using the primitive objects of the editor. By default the box has no material assigned to it.
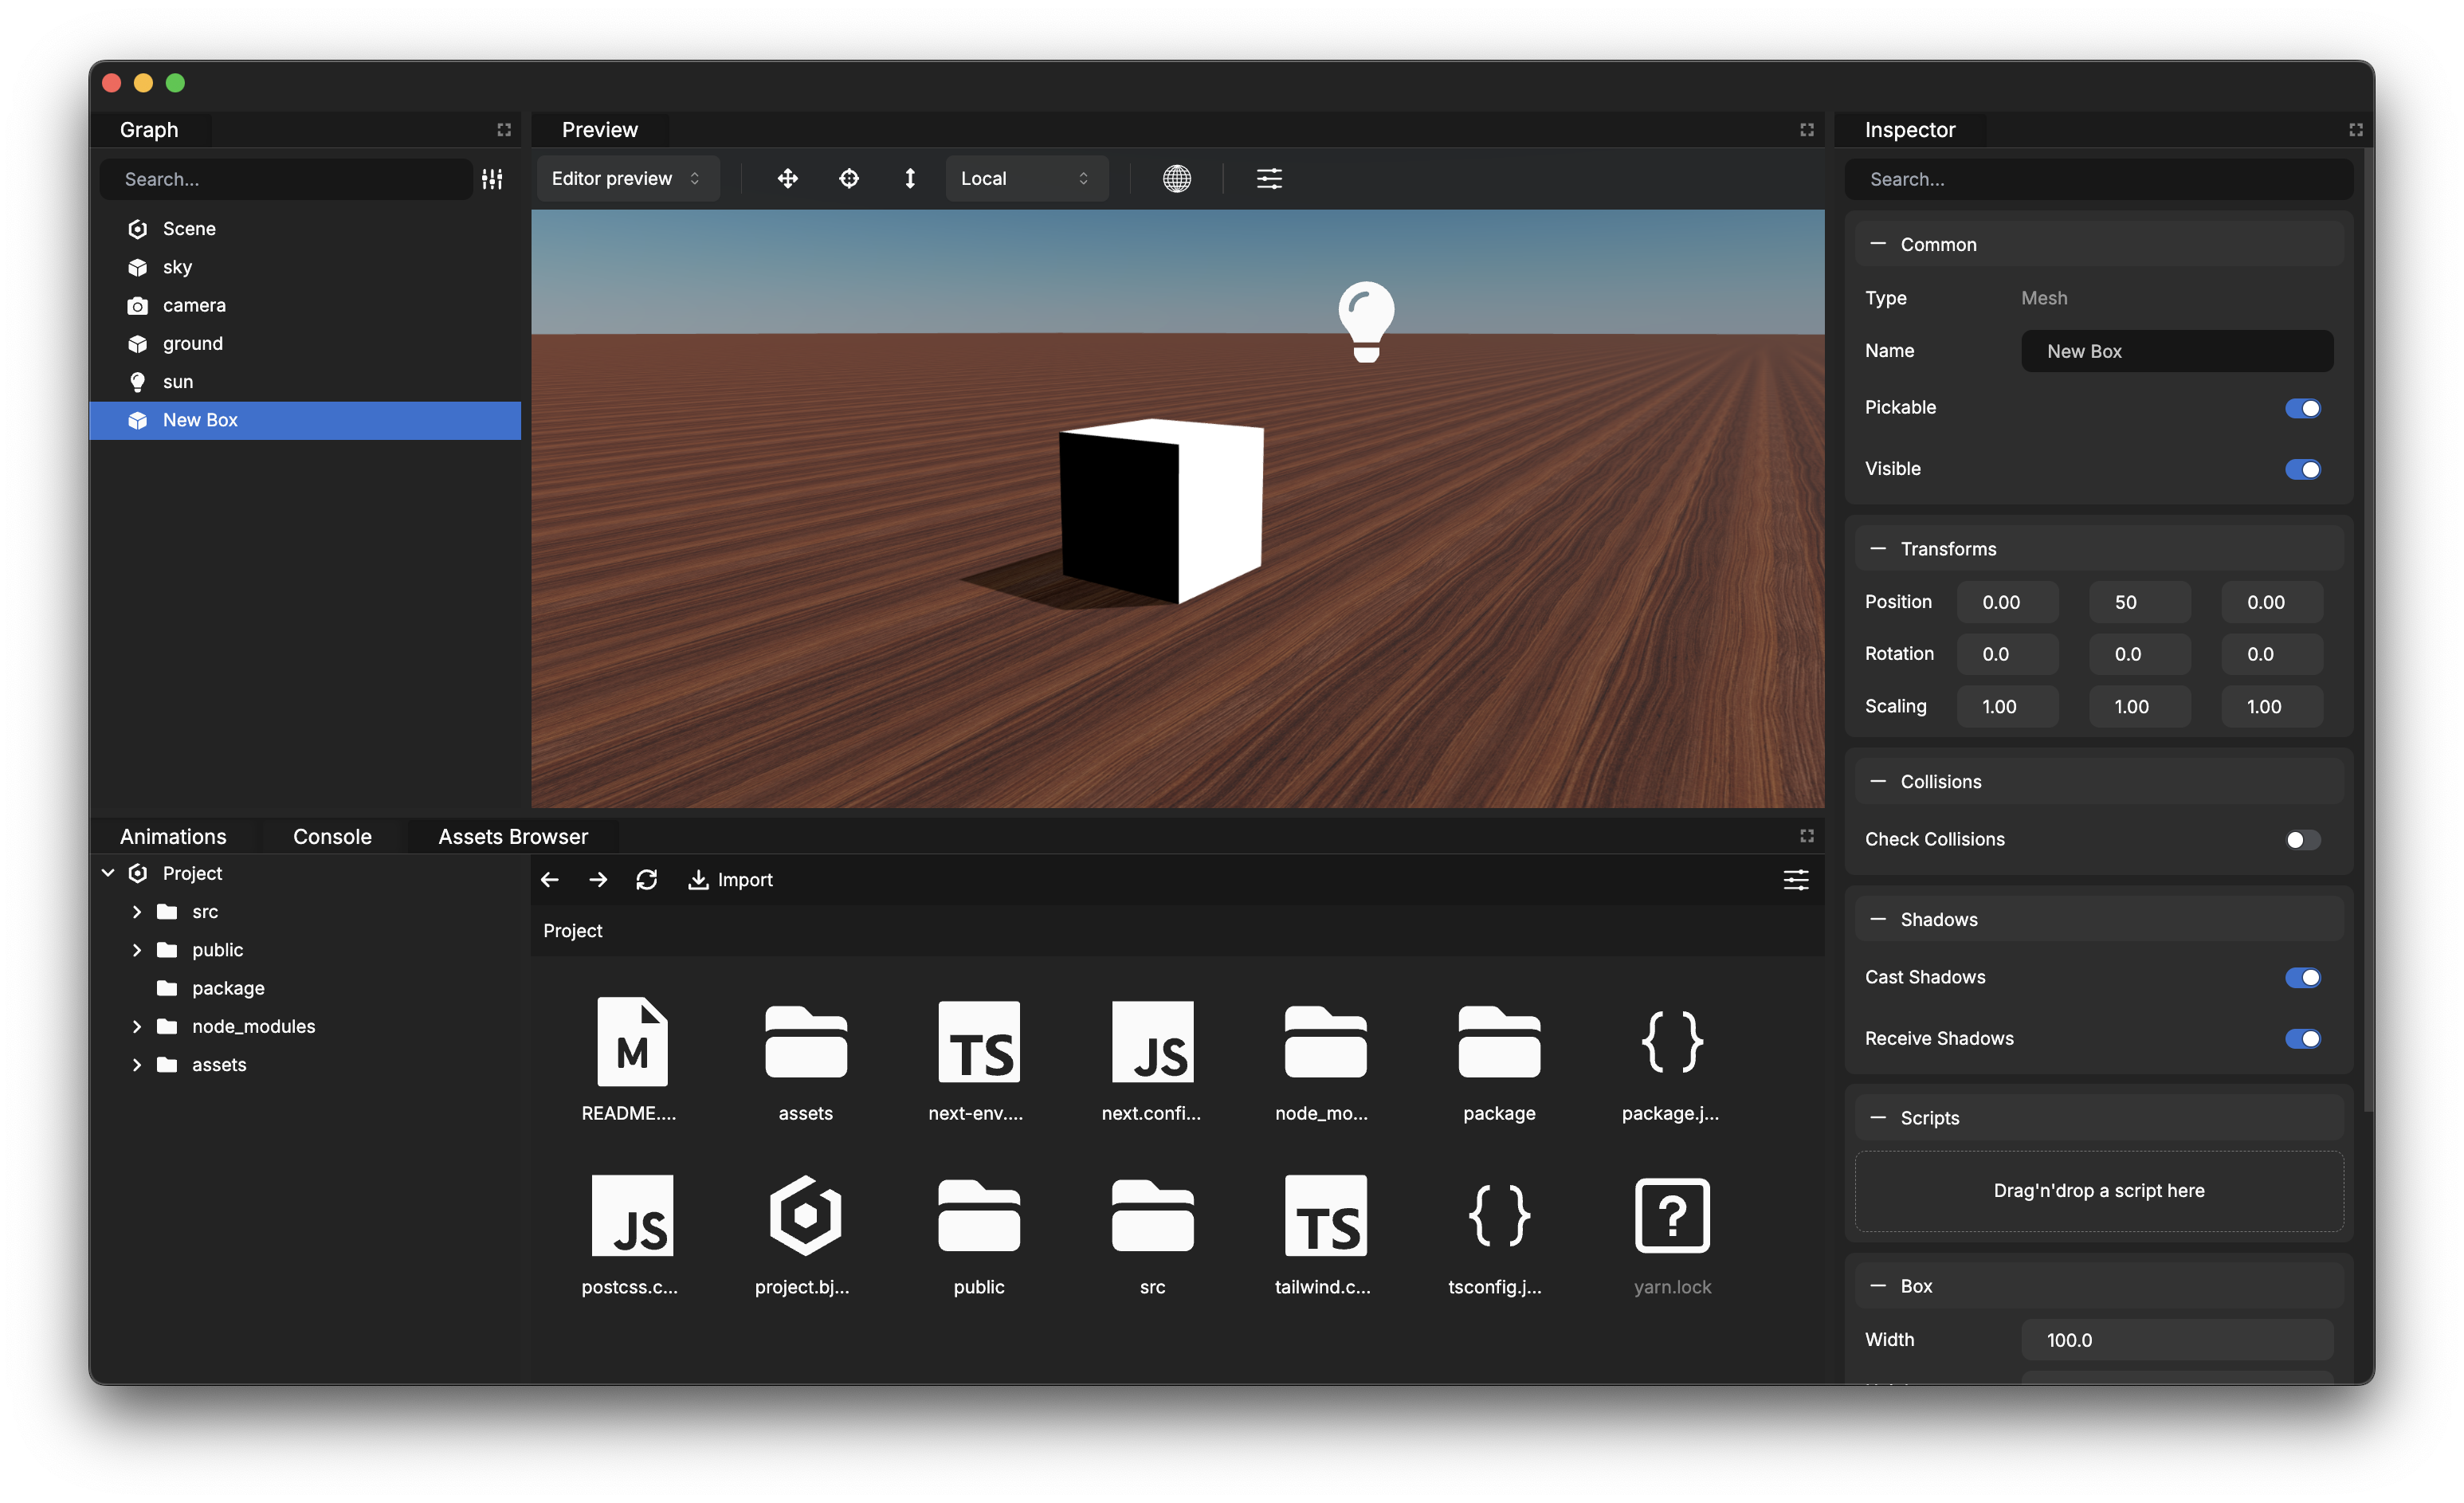
To create a new material, go in the assets folder in the Assets Browser panel and right click in order to show the context menu and select Add.
The editor supports both PBR and Standard materials. Most of the time, it is recommended to add PBR materials as it became the norm today. For more information about PBR materials, you can refer to this excellent documentation of Babylon.js. A dedicated Sky Material is also available to render skies, see creating a skybox.
Once you clicked on Add -> PBR Material, a new asset file appears named New PBR Material.material. Double-click on its name and rename it to my-material.material or any other name you prefer. Always keeping a constant and logical naming of assets is important to keep your assets organized.
New created materials are empty by default. Now, to assign this material to the box or any other asset, you can drag and drop the material file on the desired mesh in the Preview panel.
Your own material is now applied on the box! Now the goal is to edit the material properties using the Inspector panel. To do so, just click on the box in the Preview panel in order to edit the object.
Scroll a bit in the Inspector panel in order to see the Material section. Starting from here you can edit the material properties.
Assigning textures to materials
Because newly created materials are empty, you may want to assign textures to them. As for 3D models, textures are assets that can be imported in the assets folder in the Assets Browser panel.
Let's create a pbr folder in the assets folder using the Assets Browser panel and import textures in it.
Here, 3 textures were imported:
- Albedo texture: the base color of the object.
- Normal texture: to simulate bump and dents on the object's surface. More information about bump mapping here.
- Metallic texture: texture containing both the metallic value in the B channel and the roughness value in the G channel to keep better precision. Ambient occlusion can also be saved in R channel.
To master the meaning of those textures, refer to the Babylon.js documentation.
In the Inspector panel, all the available slots for textures are shown in the Material Textures section. To assign a texture, just drag'n'drop the texture file from the Assets Browser panel to the slot in the inspector.
Once a texture is assigned, the slot is updated to show the preview of the texture and its potential properties to edit.
As an advanced user, you may want to edit the properties of a texture in a material, just click on the preview of the texture in the Inspector panel.
A new panel appears showing all the properties of the texture. Here you can edit the properties of the texture to fit your needs.
To reduce the video memory used by your textures, see compressing textures. Materials can also be used from your code, see linking assets to scripts.