
Composing scene
Learn the editor layout, select objects with gizmos, add primitives and 3D models, and manage the assets of your project.
Introduction
The layout of the editor is divided into 4 main parts:
- Graph: by default on the left side, shows the structure of the scene that is being edited.
- Preview: by default in center, where you can see and interact with the scene.
- Inspector: by default on the right side, where you can see and edit the properties of the selected object.
- Assets Browser: by default on the bottom side, where you can see and manage the assets of the project (textures, materials, meshes, etc.). See managing assets.
Each time a node is clicked in the graph or in the preview, the inspector is updated to show the properties of the selected object.
The layout of the inspector may change according to the nature of the edited object.
Using gizmos
In order to move, rotate and scale selected objects, gizmos may be used.
For a complete understanding of gizmos, you can refer to the Babylon.js documentation.
In the editor, gizmos are available in the preview panel toolbar or via keyboard shortcuts:
- CTRL+T or ⌘+T for Position gizmos
- CTRL+R or ⌘+R for Rotation gizmos
- CTRL+D or ⌘+D for Scaling gizmos
Adding objects
The editor supports adding primitive objects such as meshes, lights, and cameras.
By default, the project template already contains a Universal camera, a Point light, a Box, and a Ground.
You can add more objects by clicking on the Add button in the main toolbar of the editor. Each time a new object is added, it is placed at the center of the scene and the graph is updated to show the newly added node.
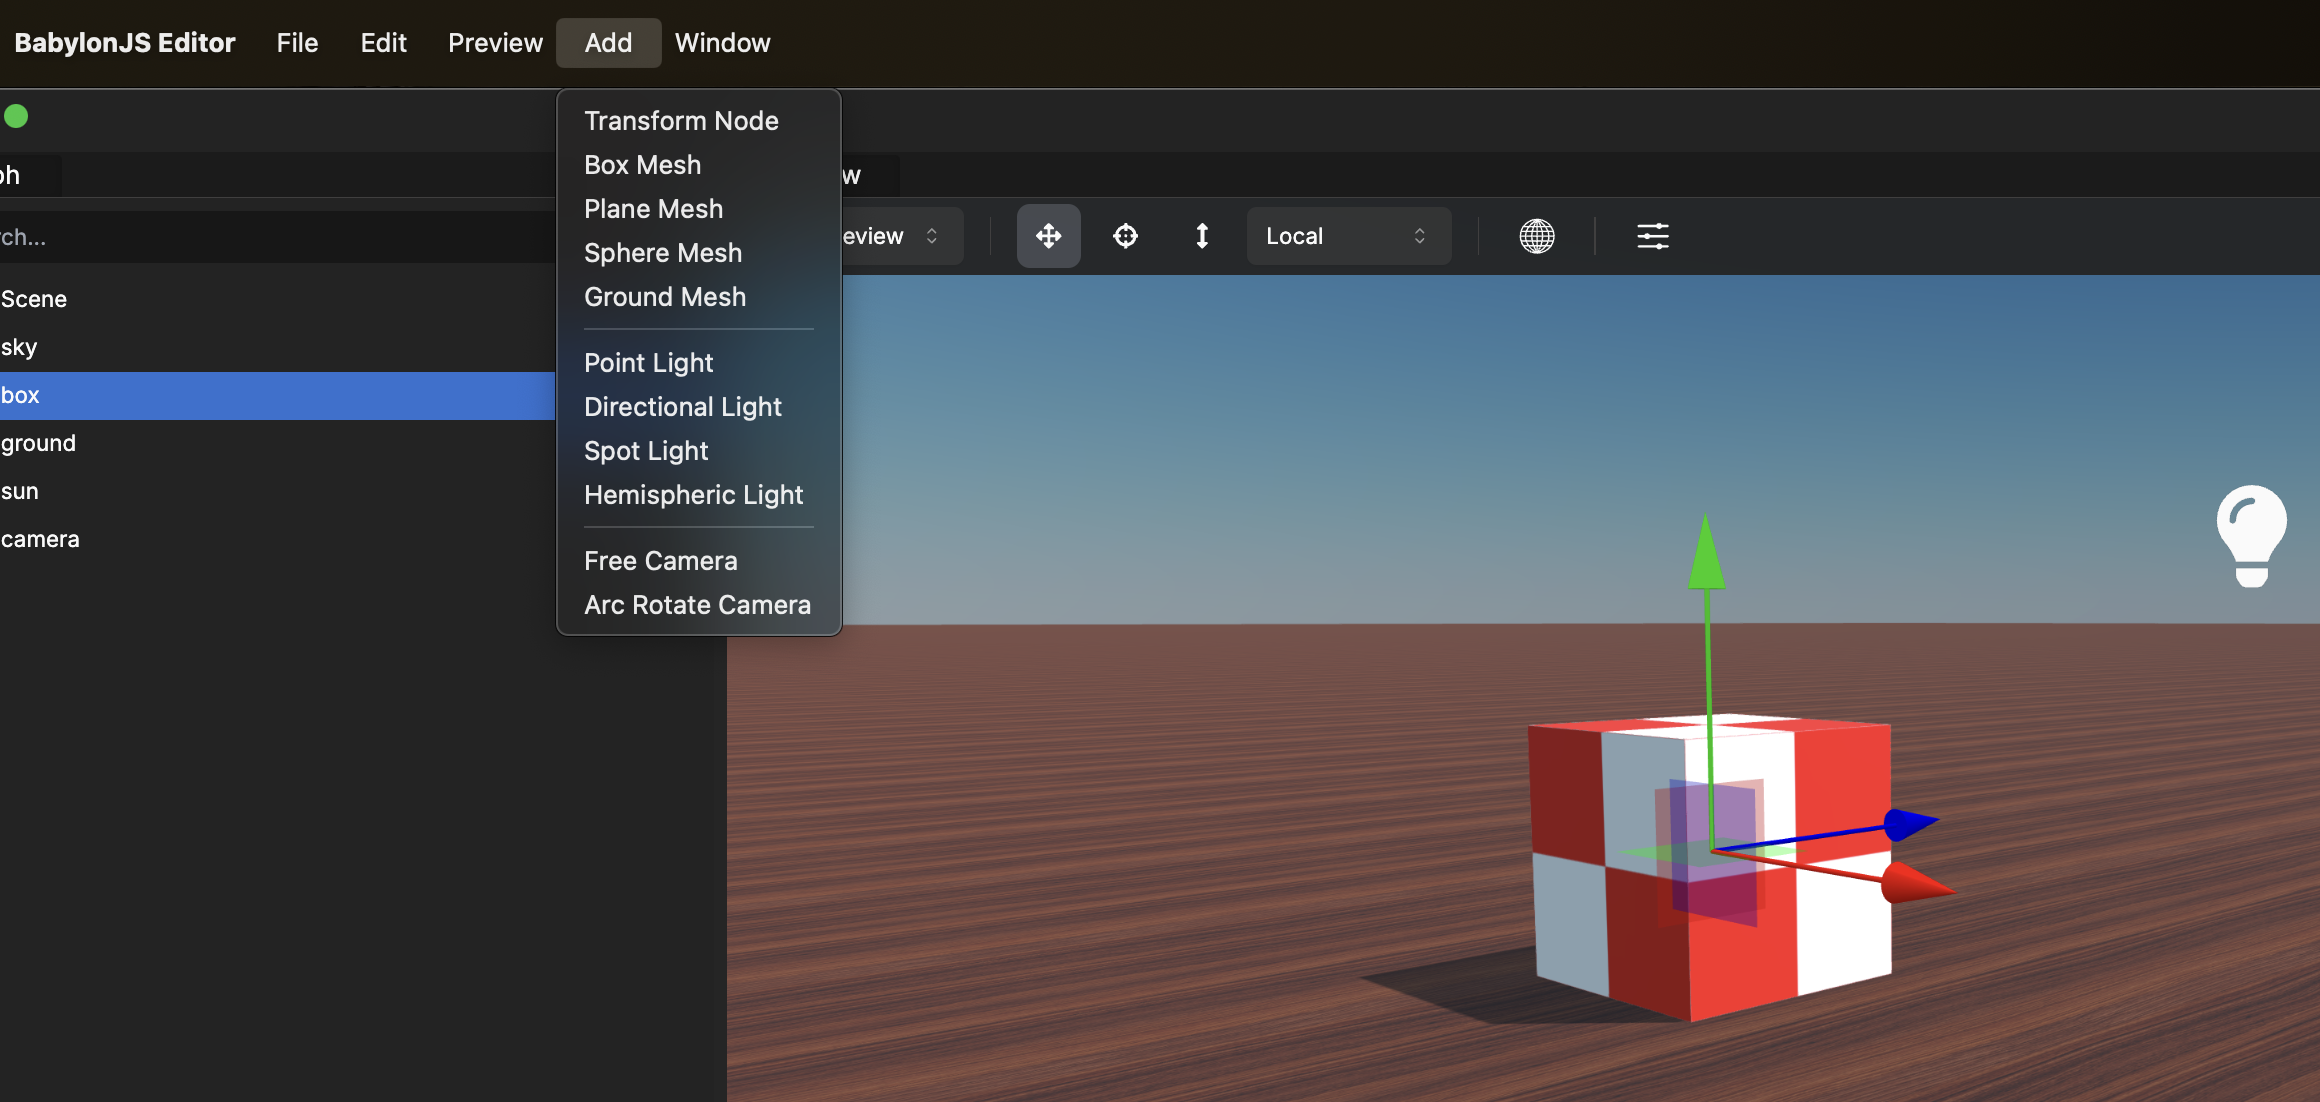
Each object can be customized. Those meshes (box, sphere, ground, etc.) are called "primitives" and their geometry is generated automatically by Babylon.js. Those geometries are created using default values and you can edit them in the inspector.
Other kinds of objects have their own chapter: see creating a skybox and using sprite managers.
Adding custom 3D models
The editor supports multiple file formats for 3D models such as .glb, .gltf, .obj, .fbx, .babylon, .stl, and .blend. Gaussian Splatting assets are supported as well, and assets from Fab.com can be imported using the Fab plugin.
To add your first 3D model, click Import in the Assets Browser. When the file dialog appears, select all the files of the 3D model (3D file and textures) and click Open.
In order to keep the assets organized, you can create folders in the assets browser by right-clicking on the panel and selecting the New Folder option. To rename a folder or a file, double-click on its name.
In this example, we imported a .gltf file with all its associated textures. To place the 3D model into the scene, drag and drop the .gltf file onto the preview. Once loaded, the editor places all the root nodes of the 3D model where the file was dropped.
Managing hidden files
When a loaded 3D model contains embedded textures (typically all .glb and some .fbx files), the editor will automatically extract them and place them in the assets browser in the same folder.
To keep files organized, generated texture files are hidden by default in the assets browser. You can show them by clicking on the Filters button on the right side and checking Show Generated Files.
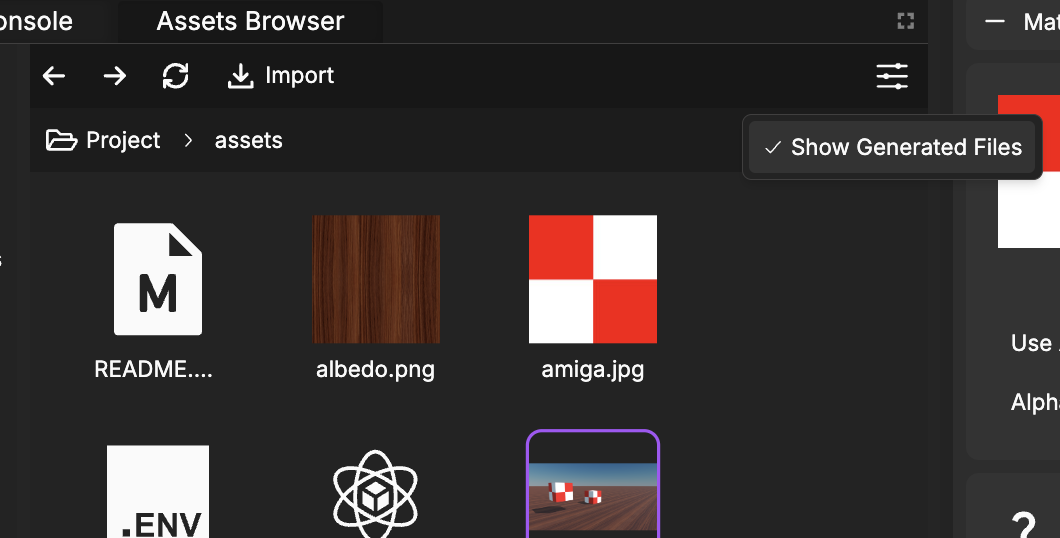
To make a file visible permanently in the assets browser, rename the file to remove the prefix editor-generated_.